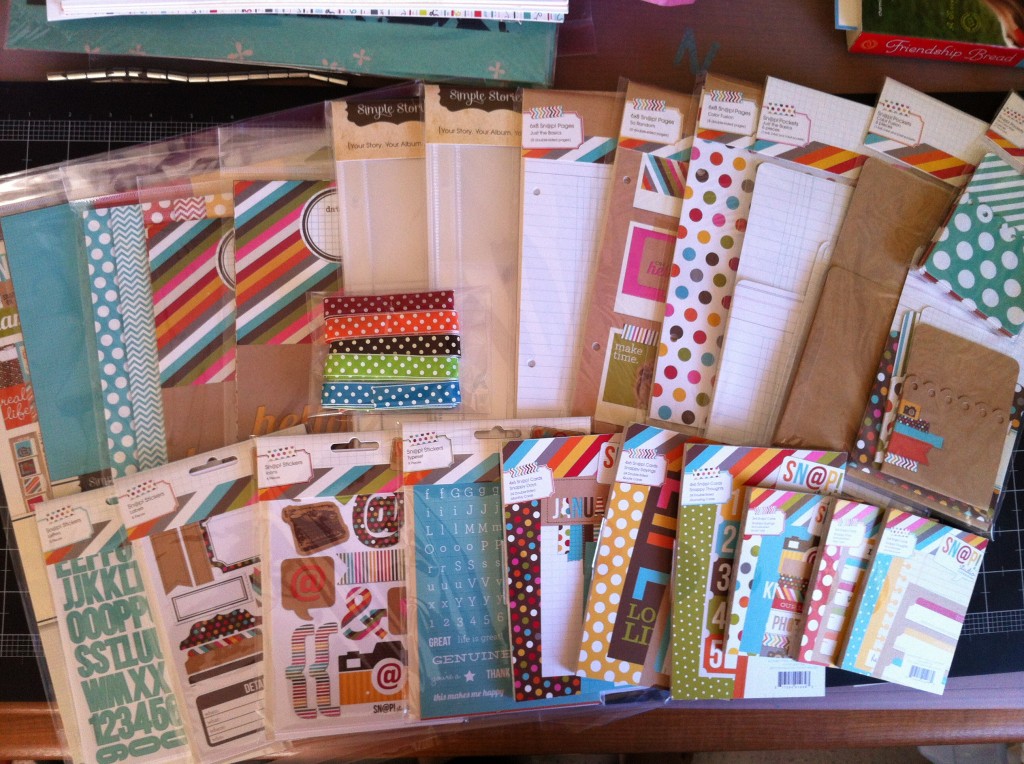
So I decided to take on Project Life again in 2013 (I tried it once in 2009 … epic FAIL). So far, it’s really cutting into my blogging time, LOL! But, no, that’s good right? I’m scrapbooking again – woot! At home, not just at a retreat or crop . . . which is a miracle for me these days.
I’ll be posting this year about my adventures with Project Life so I hope you like hearing about it :)
One thing that’s crucial to making Project Life work for me in the long-term is it has to be SIMPLE. S-I-M-P-L-E. And fast. I’m plate-spinning here, people! (You know, like a circus act). Trying to keep everything going at once and not letting anything drop – family, work, blogging, scrapbooking, friends, volunteering, et al.
If Project Life is going to work for me, I need a fast and easy way to print photos. Sending them out to be developed or waiting in line for the photo machine at Target ain’t gonna’ work for me. I need to print at home. Yeah, it’s a tad more expensive but totally worth it.
I also didn’t want to bring software into the mix. I know there are programs such as iPhoto, Photosheet (not compatible with us Mac’ers unfortunately), and Photoshop. But does it sound like I have time to learn a new photo program much less do editing and all that crap?!?! Hell to thuh no. I barely have time to tear my washi before I pull it off the roll, sista!
So I keep it simple (see above). I print the photos straight from my camera card, no editing. I mean, this is Project REAL Life for me. It’s Day 14 and I’m actually caught up through Day 12. I owe most of that to my Epson Picturemate printer.

*photo from dphotojournal.com
I have an older model; it’s a Picturemate Dash (PM 260). I finally figured out again how to print multiple smaller photos onto one 4×6 sheet. Thank you Project Life for motivating me, LOL!
You may already know how to do this but in case anyone doesn’t, I thought I’d share the instructions I typed out to keep by the printer (for the next time I forget how to do this or my mind is spinning so fast I can’t access any available brain cells):
Epson Picturemate Dash PM 260
How to print multiple photos on 1 sheet
1. Insert memory card into printer
2. When all photos have loaded, use arrows to find 1st photo you want
3. When it’s highlighted, make sure it says Total 1, then press OK
4. Highlight 2nd photo and press OK
5. Menu
6. Print Settings
7. Layout
8. Jumbo Wallet (or see other choices below)
9. Print – which will give you a preview to make sure it’s how you want
10. Print again – photo will print
Layout choices:
Jumbo Wallet = (2) 3×4 with no border; can do 2 different photos (great for Project Life!)
50×70 = (2) 2 x 2 ¾; can do 2 different photos
Wallet = (2) 2×3; can do 2 different photos
Mini Wallet = (4) 1 ¼ x 1 ¾; can do up to 4 different photos
US Passport = (2) 2×2; same photo only
Layout-3×3 = (1) 3×3 photo
*Portait Packages and US Passport = only prints multiple copies of same photo
There are MANY more layout choices. I just noted the ones I’m likely to use. I love having all these layouts to choose from because Simple Stories “Sna@p!” is coming out with some new page protector configurations . . . including tons of new 3×4 options!! I’m using the “Sn@p!” line as the basis of my Project Life 2013 so this is very anticipated :)
I like that I don’t have to use a computer program to print multiple photos onto one 4×6. I just pop my SD card out of my camera and into the Picturemate and print away! I don’t know if these instructions work for other models or newer models of the Epson Picturemate. But even if they don’t work specifically, at least you can see that this CAN be done! In 10 easy steps :)
Just find the manual for your printer online and look for the section about photo layout. Then you will be happyyyyy like meeee!!!

