As I talked about HERE, it was time for me to get some new storage for my expanding collection of washi tape. Just like with my PROJECT LIFE CARD STORAGE, I need cheap, easy and practical. Requirements for my washi tape storage are:
– Not expensive; no more than $20 total
– Easy to use; no pulling tape rolls off dowels, walking across the room to access them, etc.
– Practical; keeps the dust out and easy to see what I have
I looked all over Target for a new storage solution but had no luck. My next stop was MICHAELS craft store. Armed with my 40% off coupon, I was pretty confident I’d find something I loved.
And I was right! Scroll to the very bottom of this post if you can’t wait to see my final washi tape storage solution :)
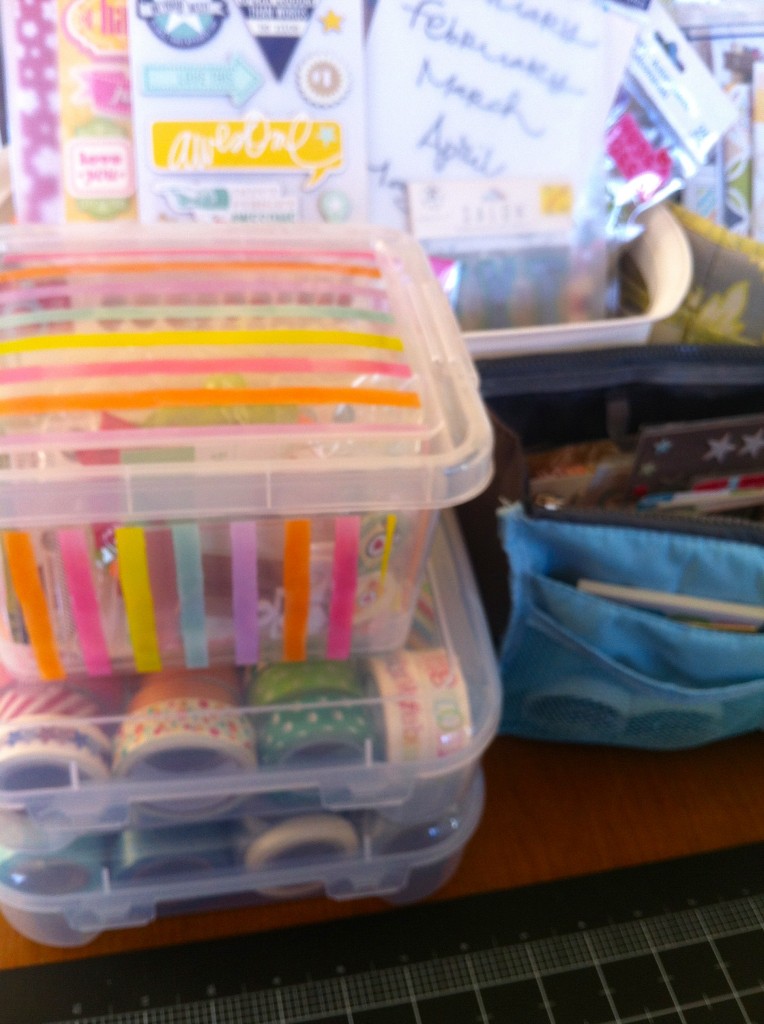
But let’s start at the beginning, shall we? Here is what I started out with:
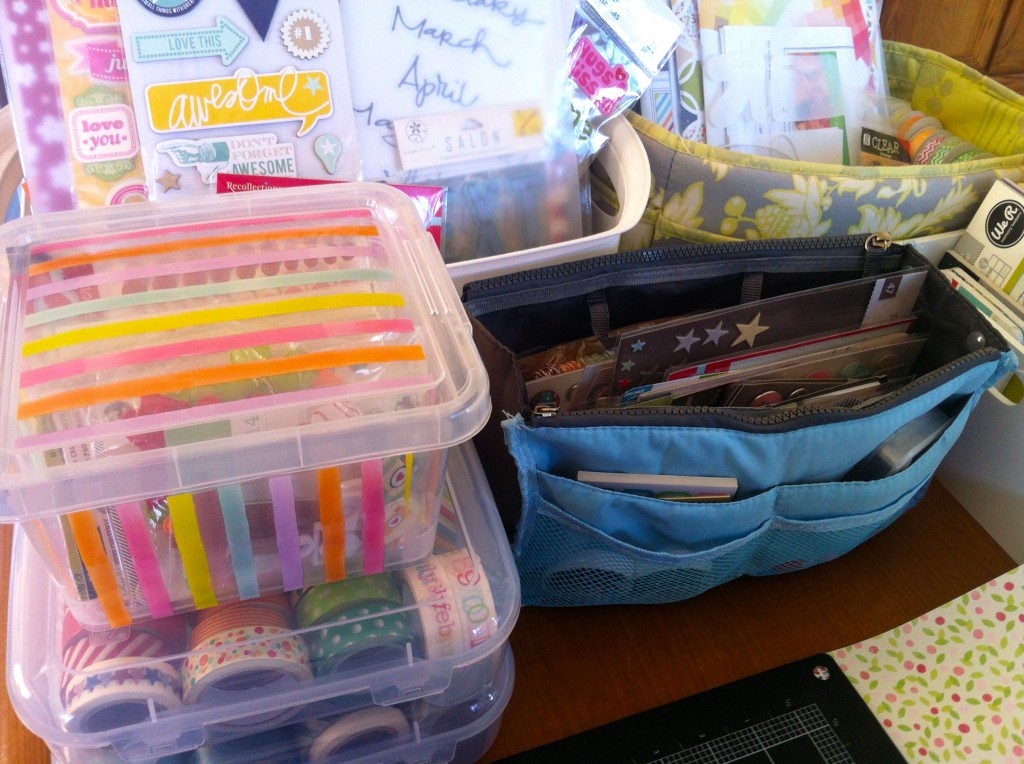
Like I said in my last post, I originally had my washi in an open tray on my desk along with my Project Life cards and embellishments. Due to dust and (ahem) outgrowing that storage, I moved the PL embellishments – icon stickers, twine, stamps, and chalk ink pads – to one of these super handy “Bag in Bag” purse organizers.

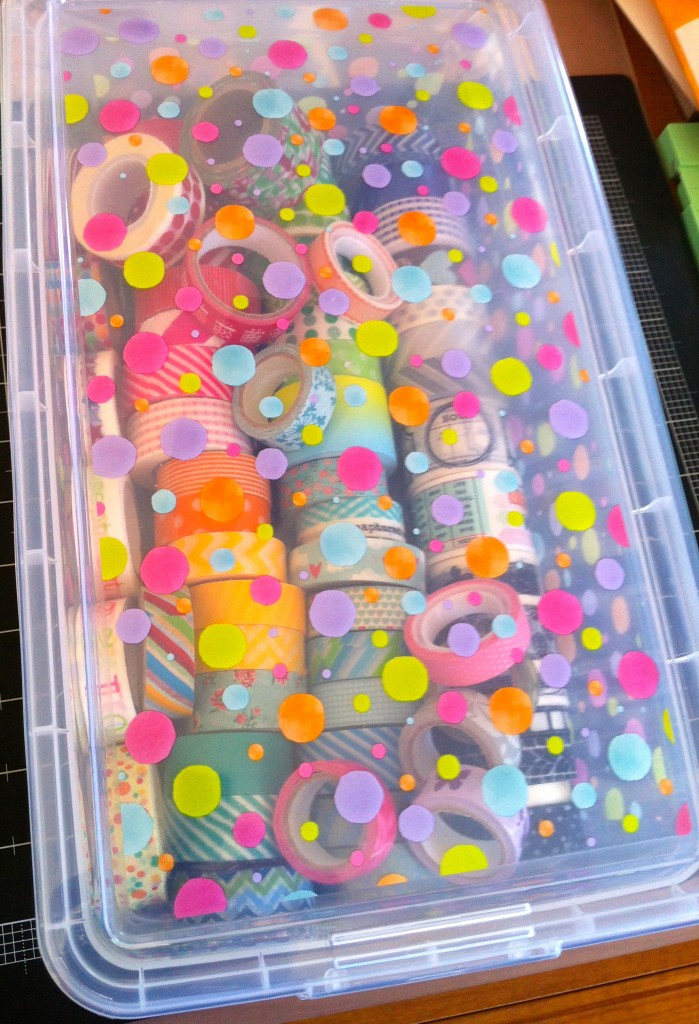
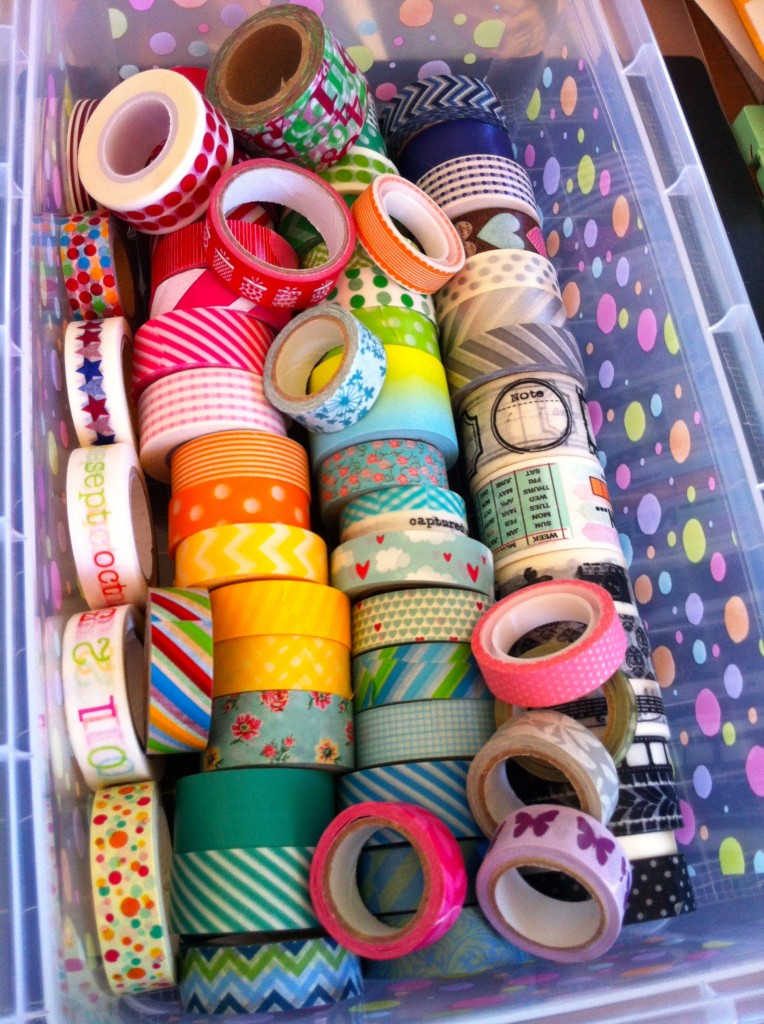
As I packed for my RETREAT in January, I threw all my washi into this extra plastic shoebox from Mike’s that I had standing by for more Project Life / MAMBI / Sn@p! card storage. Or whatever. I mean, it’s not like I’m going to keep obsessively buying more cards and need a place to store them. ‘Cuz that would be crazy when I already have so many. Um, yeah.
The washi tape rolls were easy enough to access in the shoebox above ^ while I scrapped but I wanted a better storage solution. They didn’t stay very neat and there was a lot of wasted space in there.
Let’s try something new:
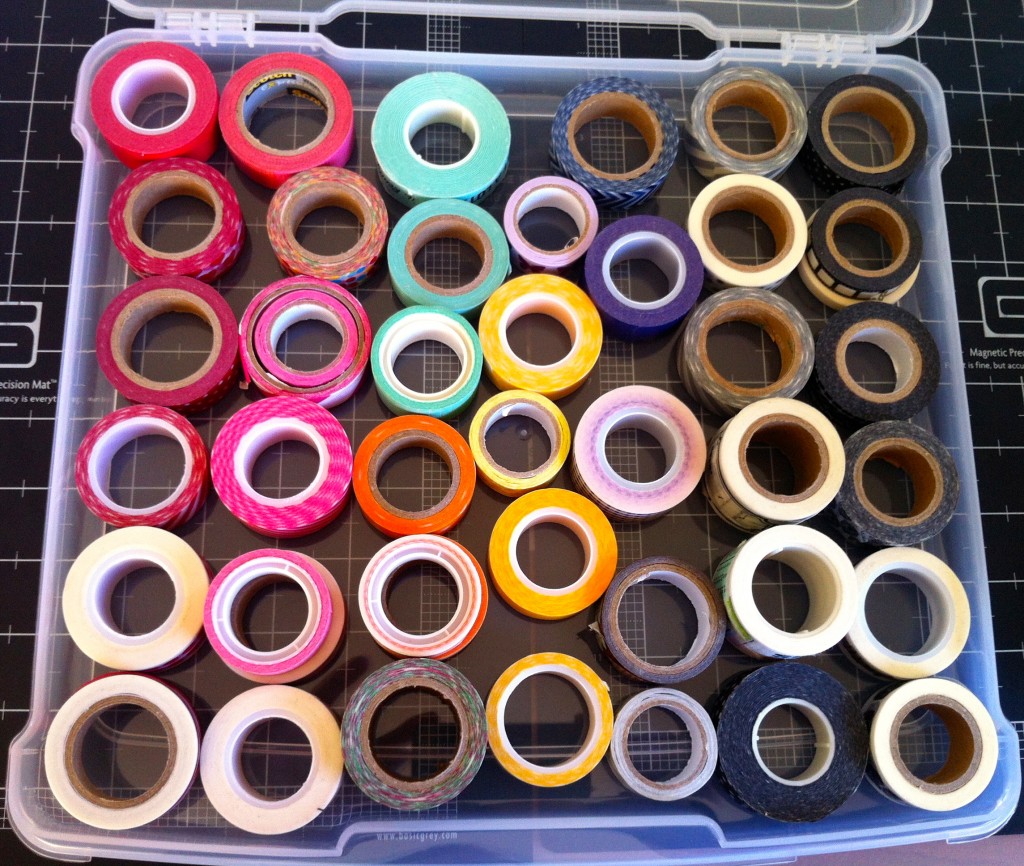
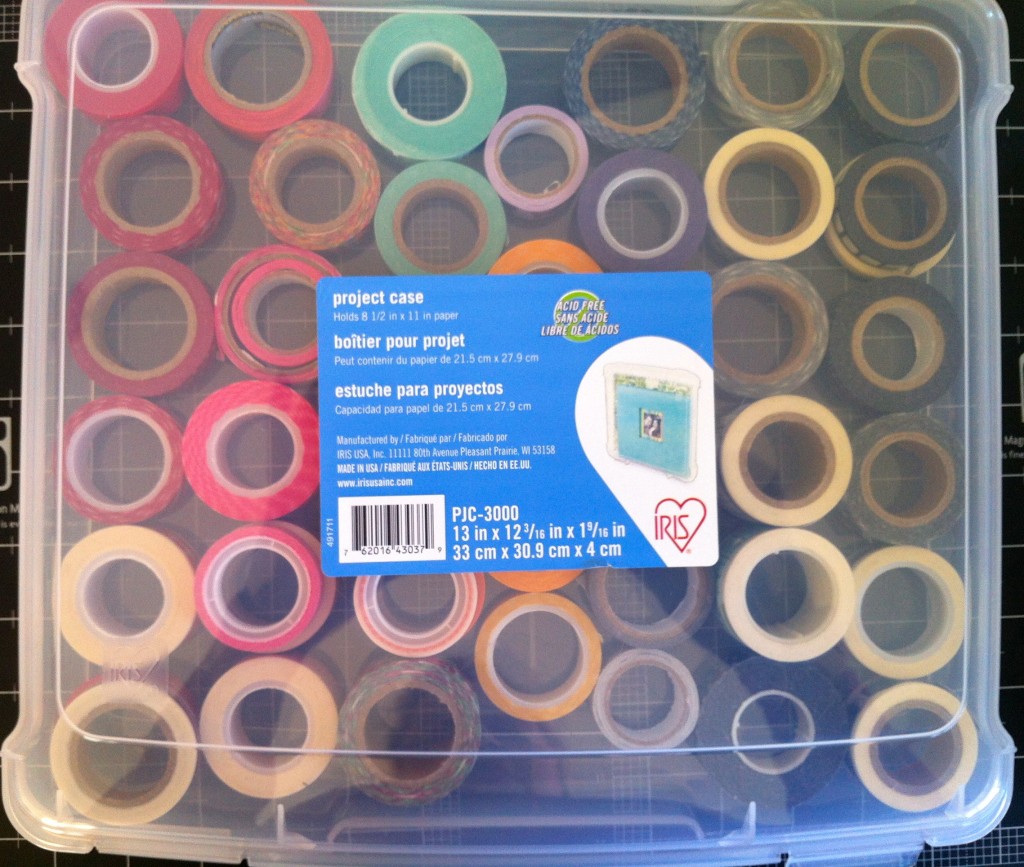
At Michaels, I picked up this storage piece first. It’s an Iris Scrapbook Project Case meant for storing 12×12 pages in progress, I suppose.
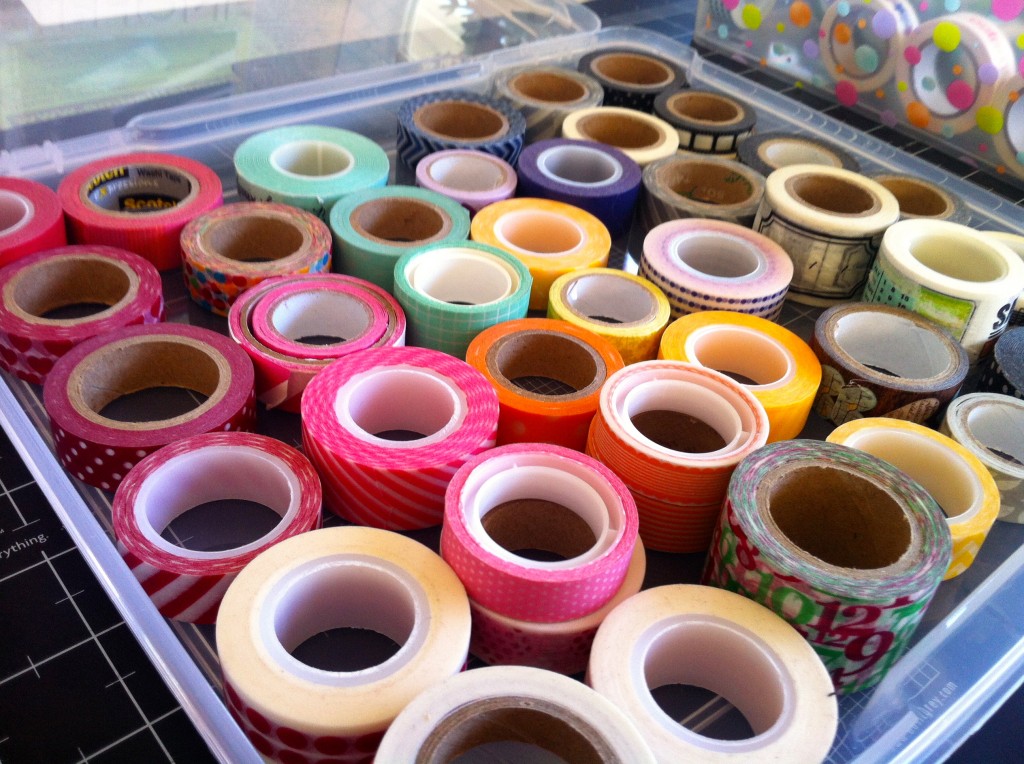
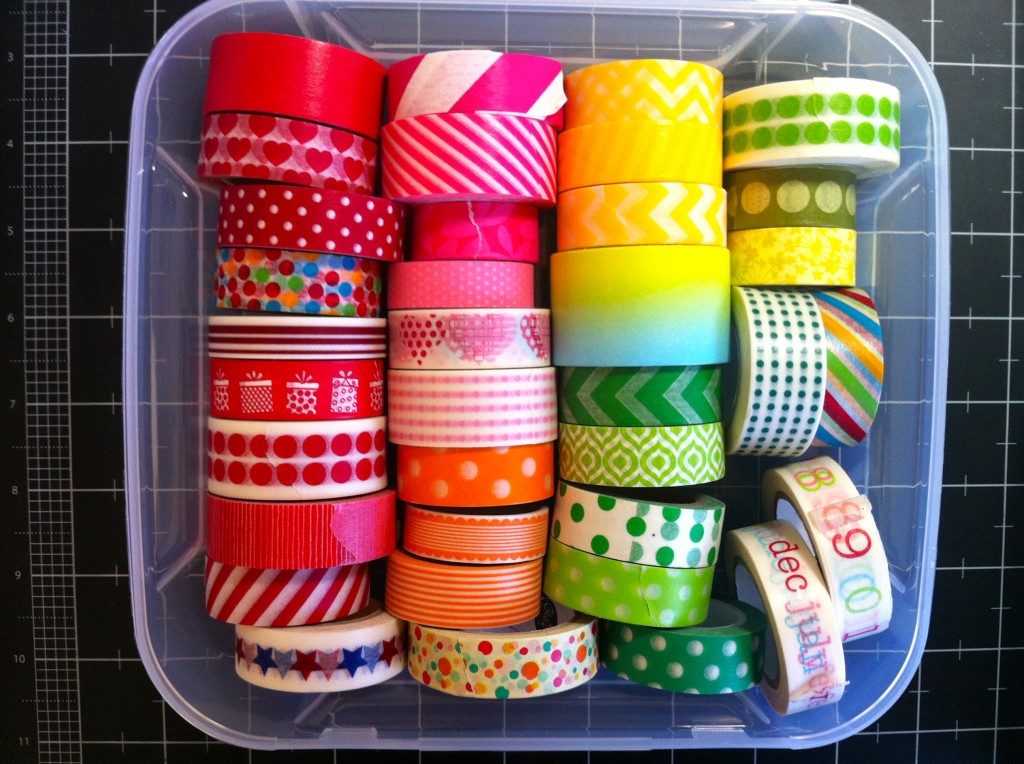
Liked: It was shallow enough to mostly spread out my tapes into a single level so they’d be easy to see and access, yet the case is tall enough to close over the thicker tapes like the red and green one on the bottom right above. There’s even room to stack 2 thinner tapes.
Didn’t like: Took up too much desk space and couldn’t see washi tape color/pattern as well when they’re lying flat versus on their sides.
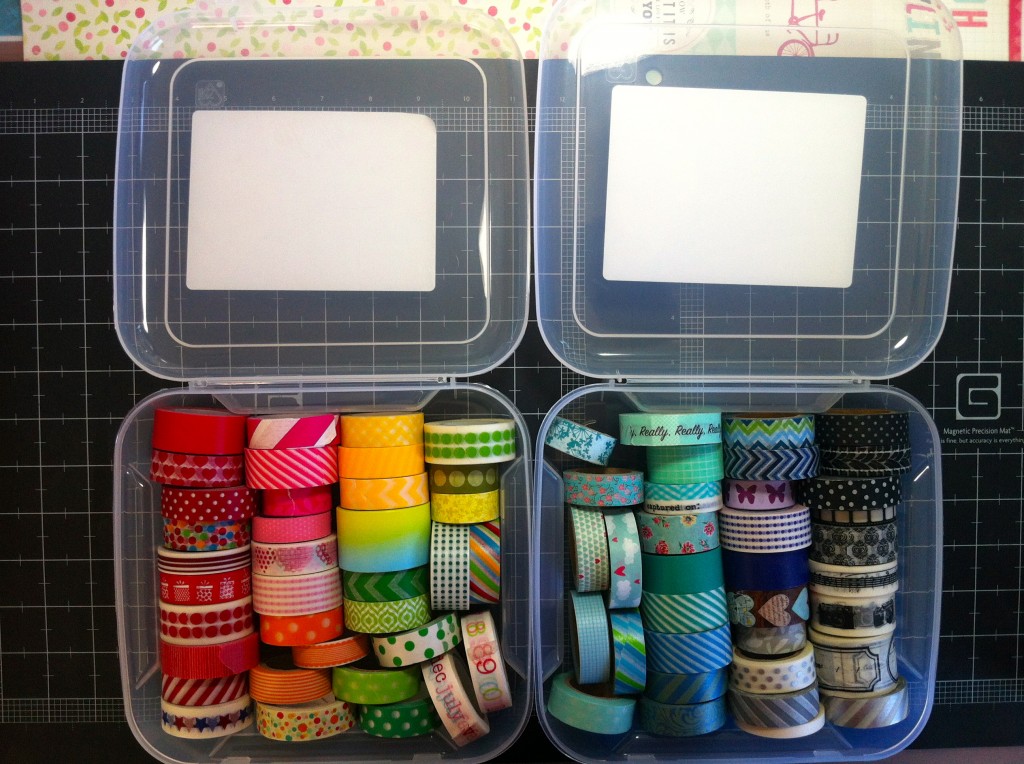
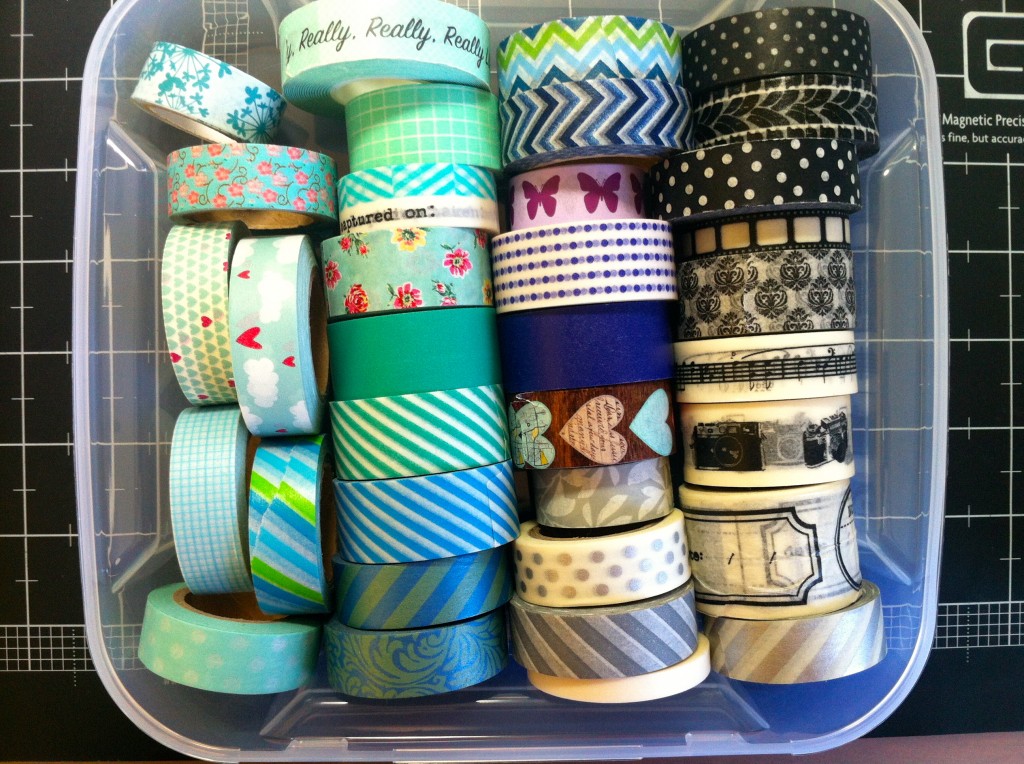
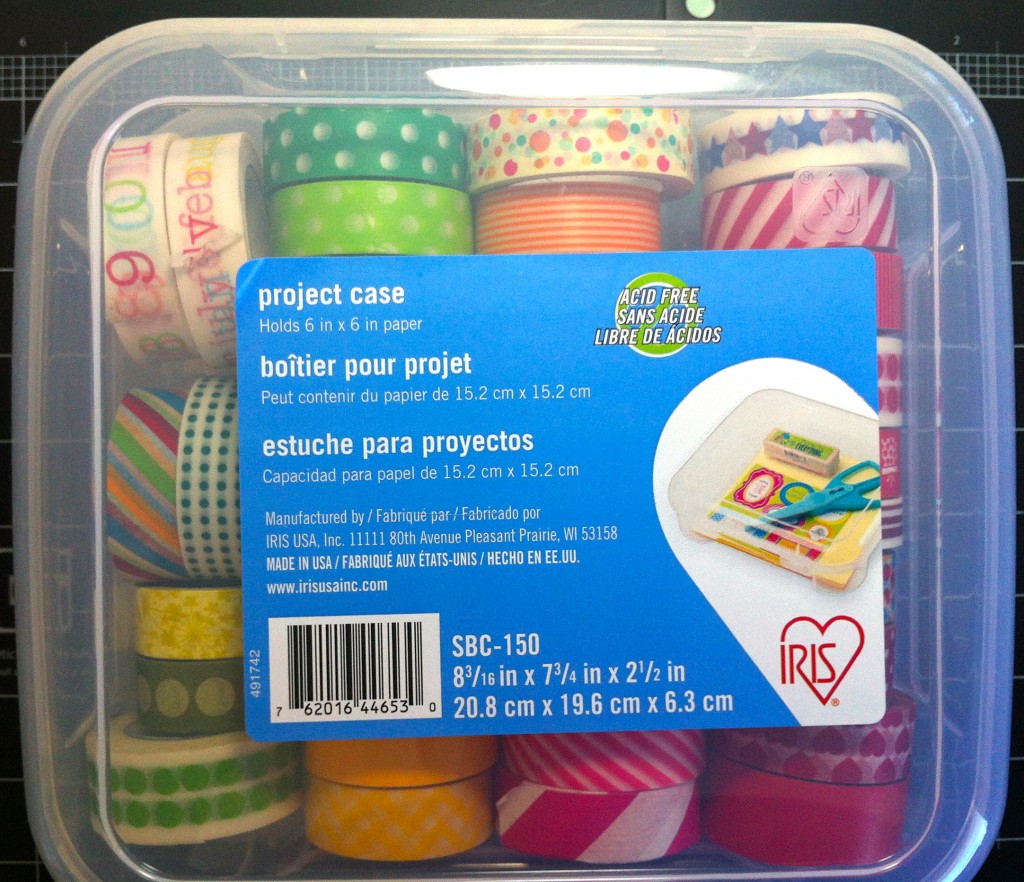
My other purchase from Michaels were these 2 smaller cases, and this is the solution I ended up going with. I put cool colors in one and warm in the other.
At Michaels, the 6″ x 6″ Iris Mini Project Case was $4.99 minus $2.00 with all scrapbook storage 40% off = $2.99 {didn’t even need to use my coupon!}. So there’s the “cheap” requirement fulfilled; only $6 total. You can’t beat that with a stick.
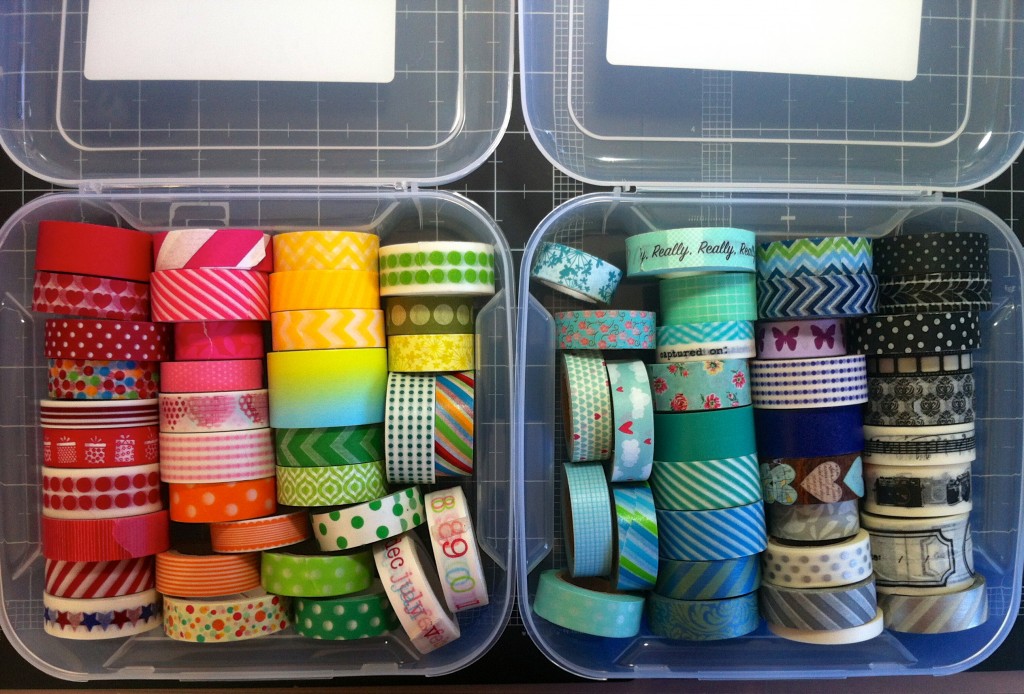
Oh my! That is one pretty washi collection, if I do say so myself. All that color and design and possibility makes me so HAPPY!
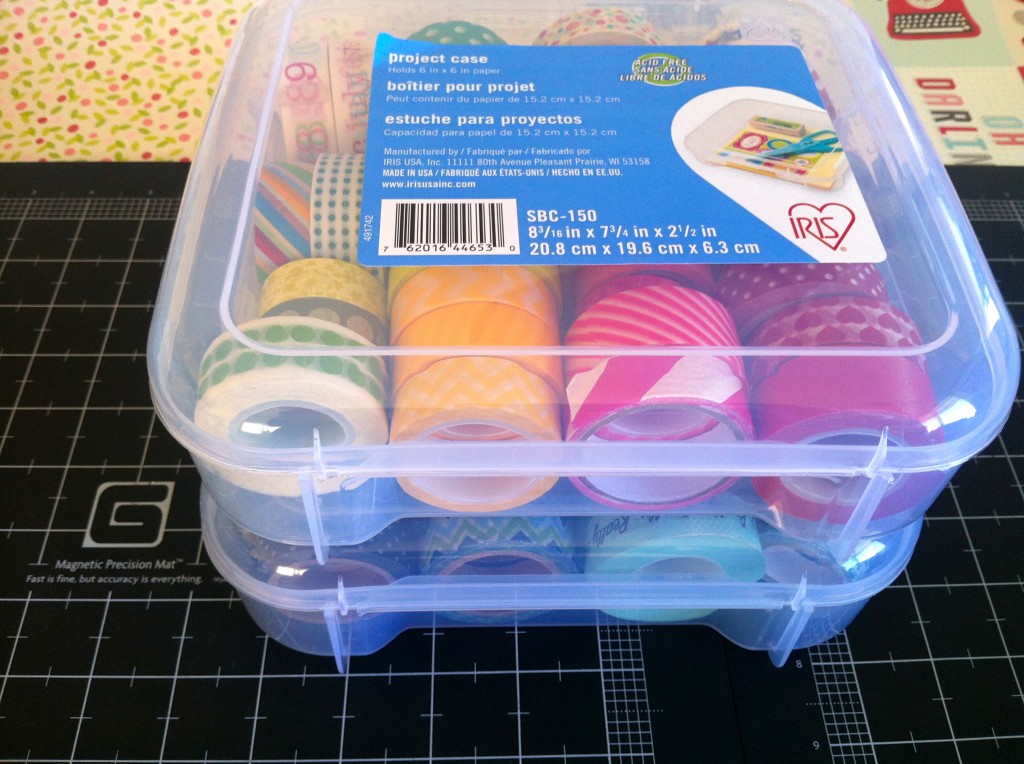
As you can see, the lids closed easily over all sizes of washi tape. My “easy to use” requirement was met – no dowels, no pulling them off of hangers or spools, etc. Just reach in, grab the roll(s) you need, and put ’em back when you’re done.
I kept the label on so you could see what exactly the item is called, in case you’d like to replicate this washi storage :) It’s so funny because looking back, I mentioned way back HERE that I loved this little case and wanted to find a use for it.
Voila! Mission accomplished!
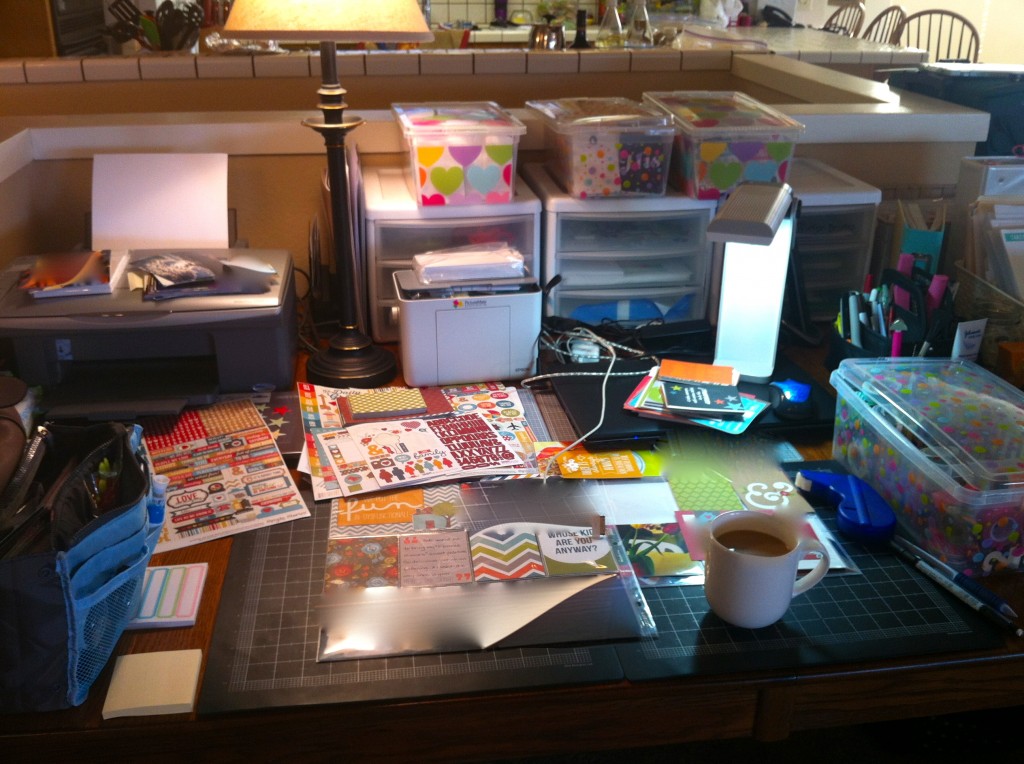
Here are my cute little washi cases stacked together on my desk, just to the left of me as I scrap. My pretty tape is secure and protected. So my “practical” requirement is fulfilled.
To the right is the Bag in Bag I mentioned above. On top of the washi cases is a small plastic ‘shoebox’ from Mike’s with enamel dots and some smaller embellishments that didn’t fit in the Bag in Bag. That’s another cheap, easy, and practical storage solution I love <3 Hope you find this helpful! How do you store your washi tape?
